Timeline of Earth Evolution
Optional: a few highlights
Being concerned that the notes might be a little dry, I’ve offered a few comments on some of the stations along the string.
I don’t know whether its better or worse to view this before you do the activity for yourself ... but be assured the movie does not replace the actual walk!

Activity: timeline string
Kind: You can do this alone, or take along a companion.
If your companion is young, I recommend that you turn the
information provided in the attached pdf into a story.
Duration: 20 to 30 minutes
Location: somewhere where you can attach one end of the string
and walk for 50 meters, unwinding it, without cross traffic.
Instructions:
-
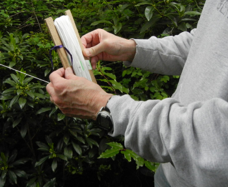
1)Download the pdf file that is a key to the numbers on the string.
Unless you have a portable viewer such as an iPad, print the file so you can take it along to read what happened at each point in time. -
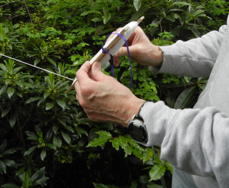
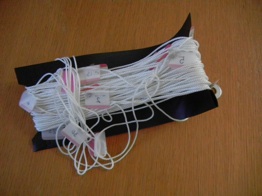
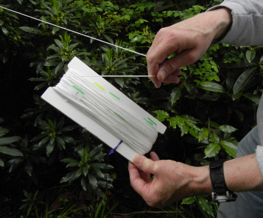
2)Undo the ribbon to detach the loose end of the string, fasten it to some stationary object. Start unwinding (hand over hand as shown above) and as you come to each number, read what happened at that moment in time.
-
3)As you can imagine, walking the line and seeing the perspective is the main point of doing this activity; just reading it or seeing a diagram does not have the same visceral effect.
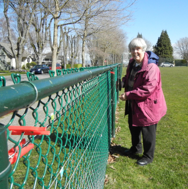
Fleurette helped me create the numbered strings in 2012. We used clothes-pegs to fasten them to a fence.
However, for 2013 we had to untangle, unwind and rewind all the strings onto the new spools; and I don’t want to have to do this each time to get rid of any tangles you leave!

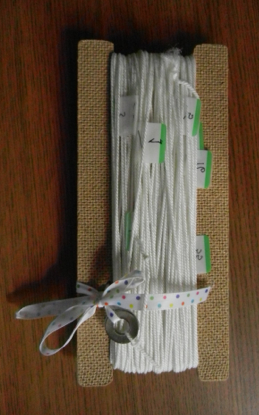

Rewinding the string:
Our first version of the string was on a plastic spool, which really didn’t work well because it warped and the line tangled. So my husband David made us a batch of stronger spools...
it should be easier to keep it tidy for the next group of users.
first: a bit about tangled cords
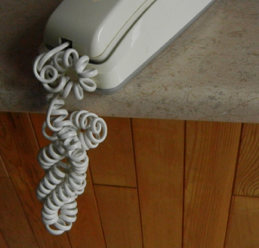
With mobile phones this problem is going extinct, but you may encounter something similar with other appliances, in particular hair dryers.
You don’t do anything to tangle it, you just use it... and yet the cord ends up with these twists and knots. How come? Well, we all tend to do something in the way we pick up the appliance and put it back; namely we twist or rotate the hand held part one turn each time we pick it up and put it back.
You have probably discovered that the easy way to untangle it is to let it hang and unwind. Or you can pull it taught and unwind it.
So why am I writing about this here? The long string you are about to use can get very easily twisted, once for each turn, depending on how you rewind it.
The temptation:
The intuitive way to wind up the string on a flat spool like this is to hold the spool and wind the string around it. This is how we add a twist to the string, which results in tangles for the next user. Please don’t wind like this!
What does work:
Keeping the string taught where you have the end attached, flip the particle board spool end over end, as if it were really a spool that was winding up the string. No tangles!